Let me introduce you to Salty Beach.
Salty Beach is my Harvest Right Large freeze dryer — a 5-tray appliance roughly the size of a mini fridge that lives in my detached garage on a stainless food service table because she requires a dedicated 20-amp plug and does not apologize for it. She came into my life because I was planning a small food preservation side business, which didn’t pan out, but she stayed because it turns out freeze drying food at home is one of the most satisfying rabbit holes I’ve ever fallen into.
Where did she get her name you ask? Well… Harvest Right actually builds naming functionality into their software. Most of us in the freeze drying community give ours ridiculous names. My girl was being a real Salty Beach early on when I had a brief recurring screen issue with her. Harvest Right helped me resolve the issue pretty quickly — but the name stuck. As it should.
Why I Began Freeze Drying Food at Home in the First Place
My original motivation had nothing to do with hiking. It had everything to do with long-term food storage — the kind of preparedness mindset that leads a person to research shelf life, caloric density, and the best way to ensure your family has real food available if the world gets a little weird. Freeze dried food done properly can last 20-25 years. That’s not a marketing claim — that’s food science. Remove the moisture, seal out oxygen, store in a cool dark place, and you’ve got a meal that’s waiting patiently for whenever you need it.
But there were current practical reasons too. My husband and I are deer hunters, and our hunt club is remote enough that having lightweight, easy meal options out there made a lot of sense. Same for camping trips and weekends with the camper trailer — real food that doesn’t require a full kitchen or a cooler full of ice. Freeze drying solved all of that at once.
So that’s where Salty Beach and I started.
Then I signed up for the John Muir Trail, and everything changed.
What Even IS Freeze Drying?
Here’s the short version: freeze drying removes moisture from food through a process called sublimation — the food is frozen solid, then the pressure in the chamber is reduced so the ice converts directly to vapor without passing through a liquid stage. What’s left is the original food, in its original shape, with its original nutrition mostly intact — just completely dry and incredibly light.
This is also where freeze drying leaves dehydration in the dust. Dehydrating uses heat, which degrades nutrients and changes texture significantly — dehydrated food retains roughly 60-75% of its original nutrients and often ends up chewy, shrunken, or leathery. Freeze dried food retains 90-97% of its original nutrients, including heat-sensitive vitamins like A and C, and the texture rehydrates remarkably close to fresh. If you’ve ever had a freeze dried strawberry that tastes like an actual strawberry, you know exactly what I mean.
A typical food run in Salty Beach takes around 24 hours. Add a thick soup to the load and you’re looking at 30 hours. Fruit, with its high water content, can push 40 hours or more depending on how thick you slice it. However, you’d be surprised at how little electricity it uses considering the length of time the machine is running.
Freeze drying food at home is not fast. It is absolutely worth it.
What Just Came Out of Salty Beach
I’ve done two runs recently that have me genuinely excited about what’s going into my pack this summer.
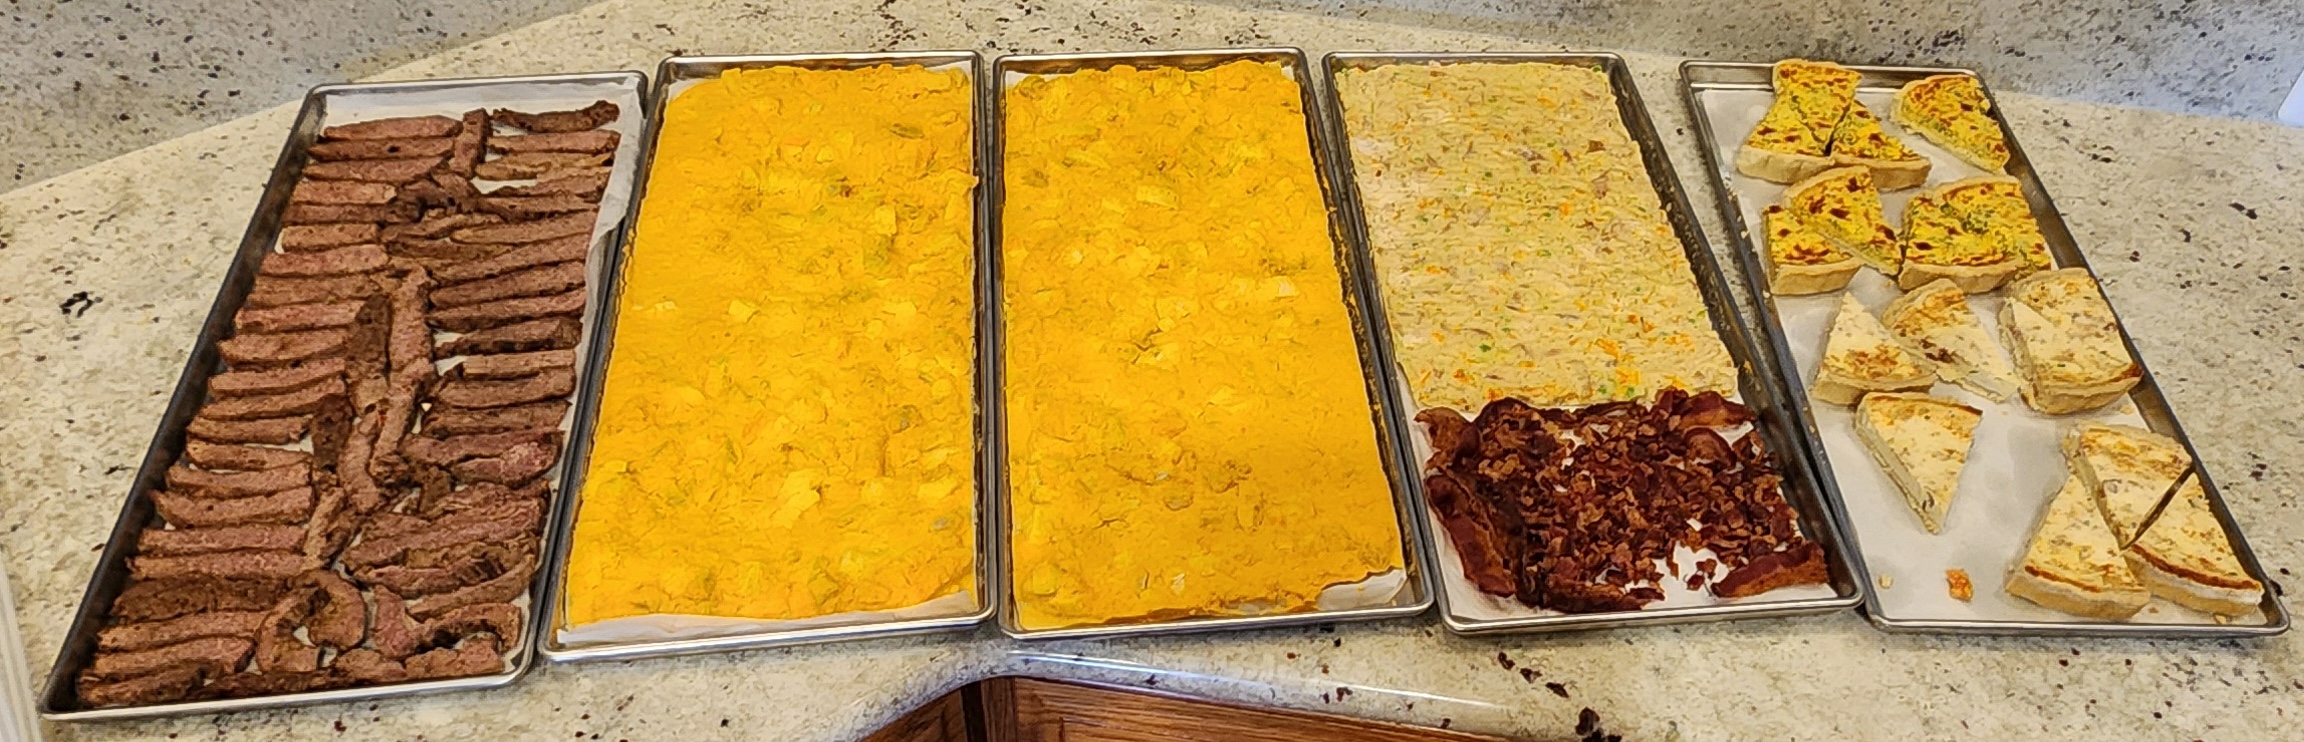
The most recent load included fajita steak strips, carrot ginger soup, chicken pot pie filling, beef bacon bits, and some freeze dried quiche — because why not, and also because my husband will eat anything that comes out of this machine and I like to keep him impressed.
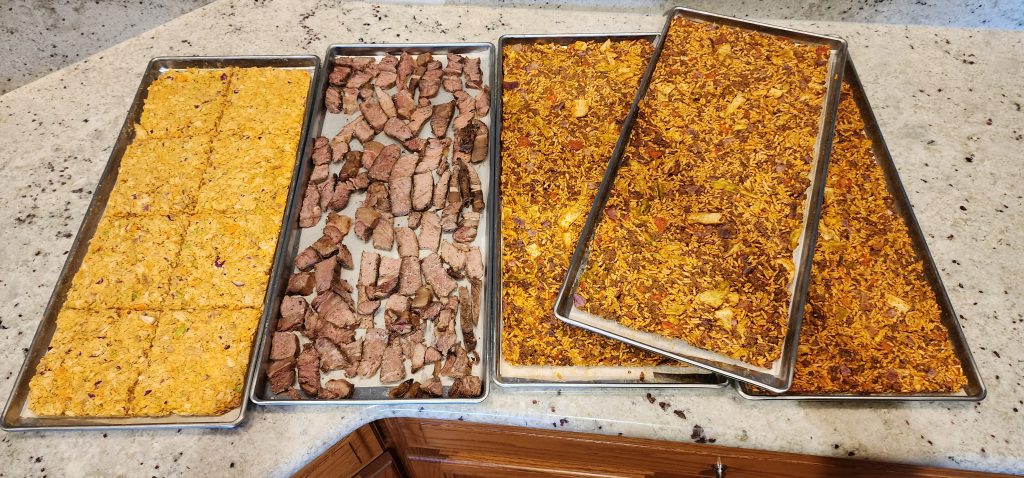
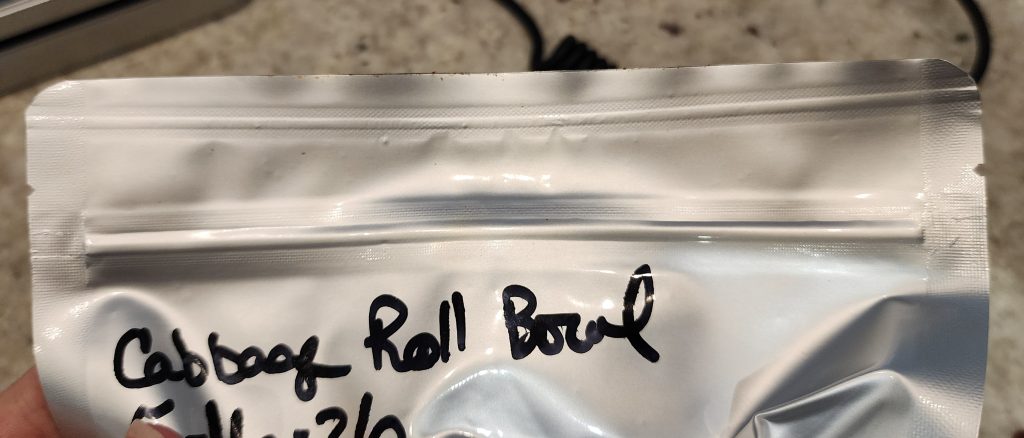
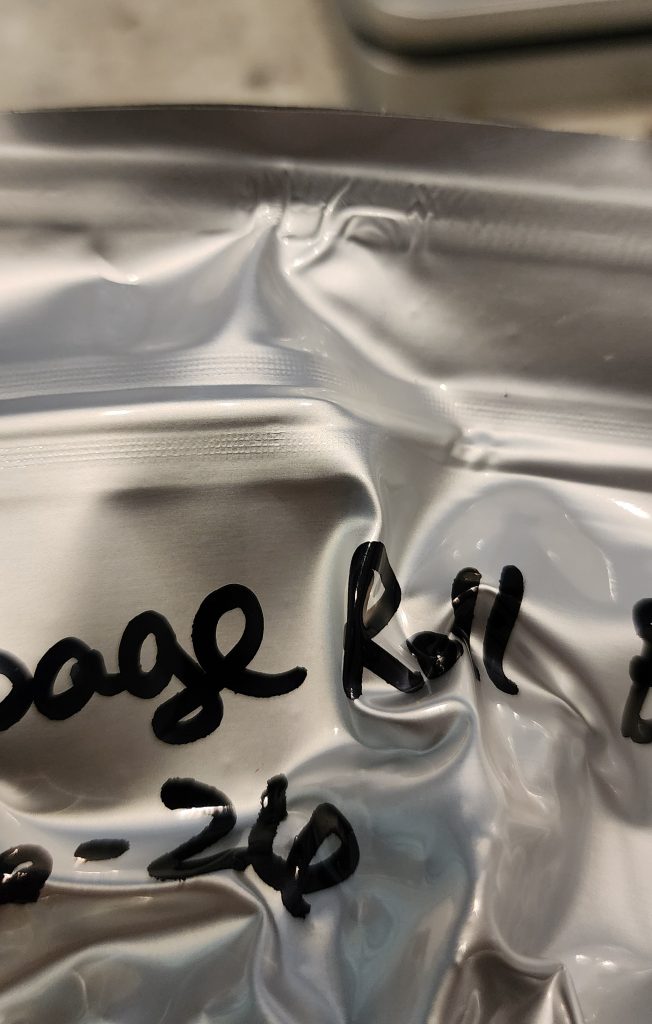
A couple of weekends ago I ran buffalo chicken salad, unstuffed cabbage roll bowl with Rao’s marinara, and ribeye steak strips — which came out so well that I’ve been eating them dry as a snack like jerky. They are ridiculous. In the best way.
Two of those bags have “JMT” written on them in Sharpie. They’re spoken for.
The Sealing Process (And Why It Matters)
When the freeze dryer says it’s done, I pull each tray out one by one and stab it several times with a moisture meter. If any one reading shows anything but “0.0”, it goes back in for ‘extra dry time’. No taking chances here on ending up with a meal pouch of spoiled food because it wasn’t quite dry enough. The moisture meter costs around $40, but it’s a small price to pay to ensure that your time, effort, and investment in supplies and food are not wasted. Once the food comes out of the freeze dryer, it needs to go into airtight packaging immediately — freeze dried food is extremely hygroscopic, meaning it will reabsorb moisture from the air fast if you leave it sitting out.
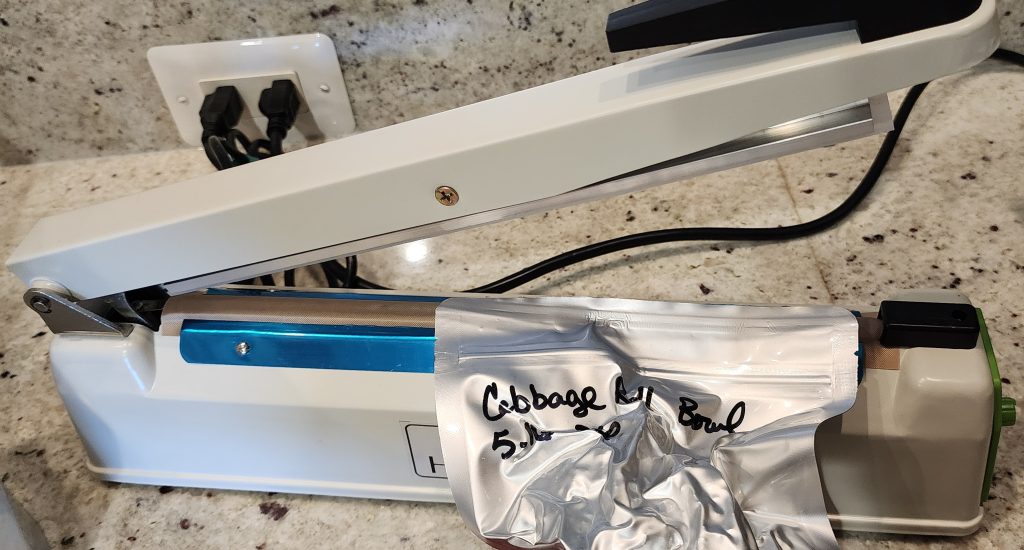
I use mylar bags with oxygen absorbers, sealed with a chamber vacuum sealer because I’m an overachiever.
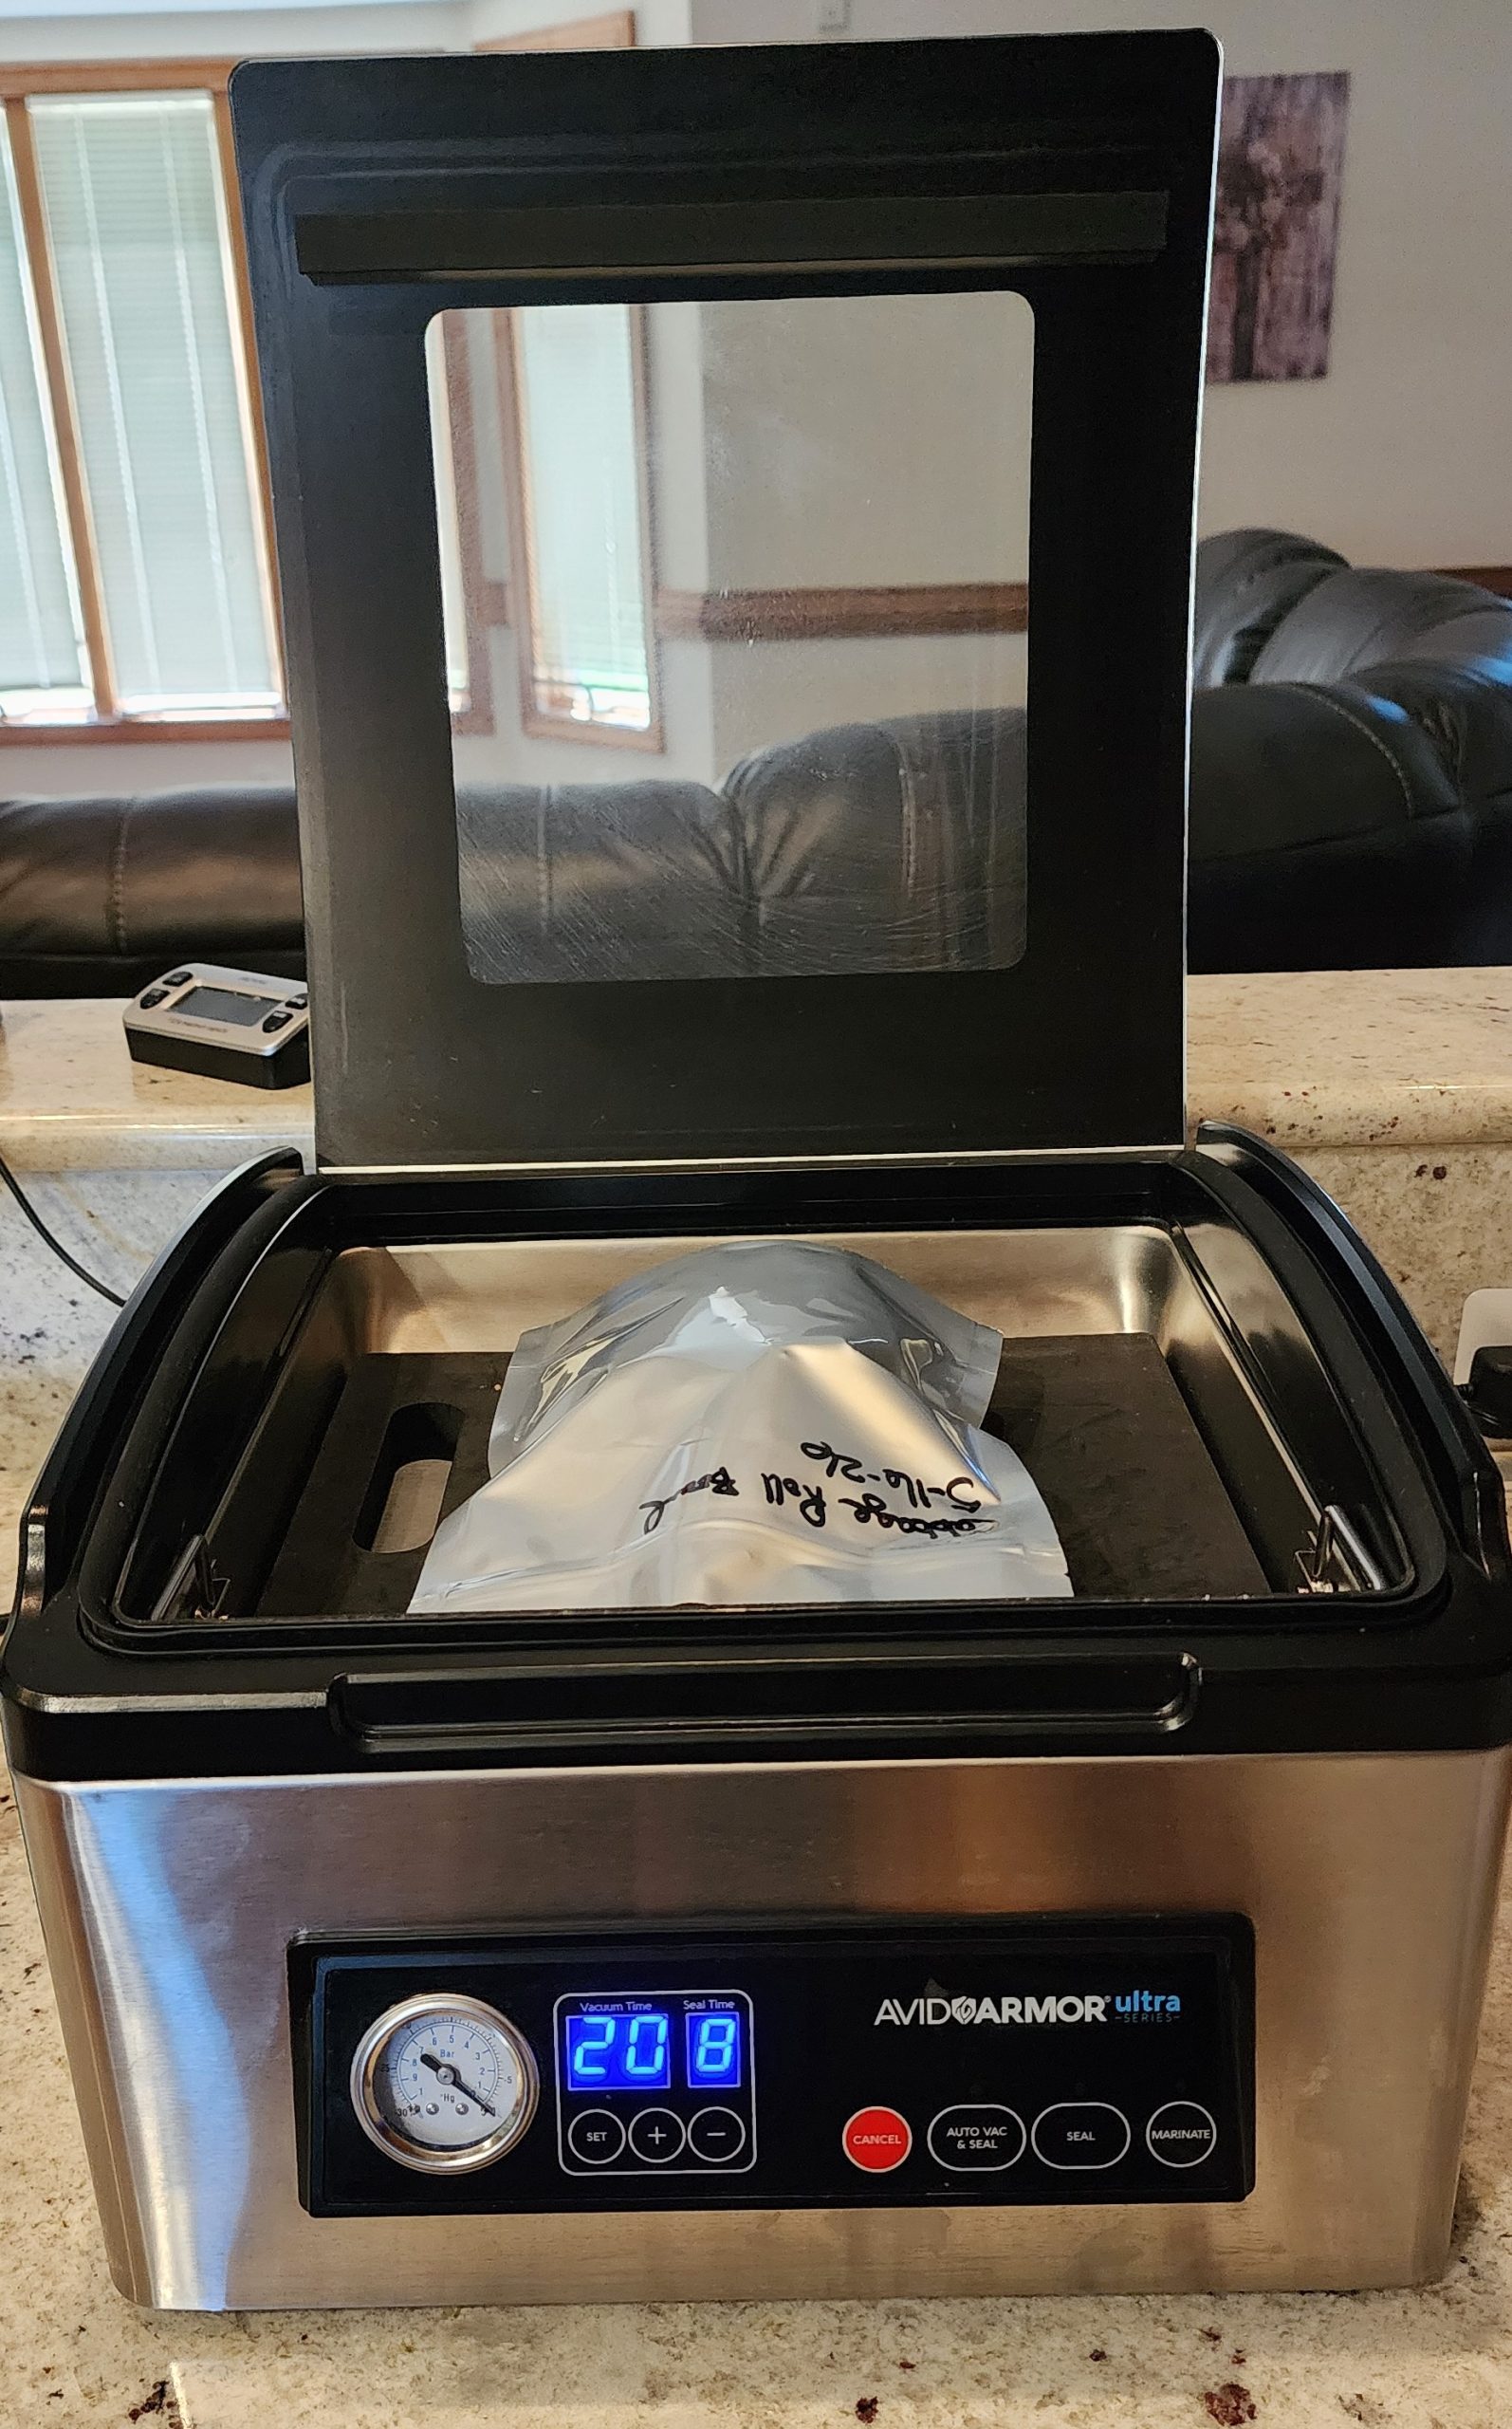
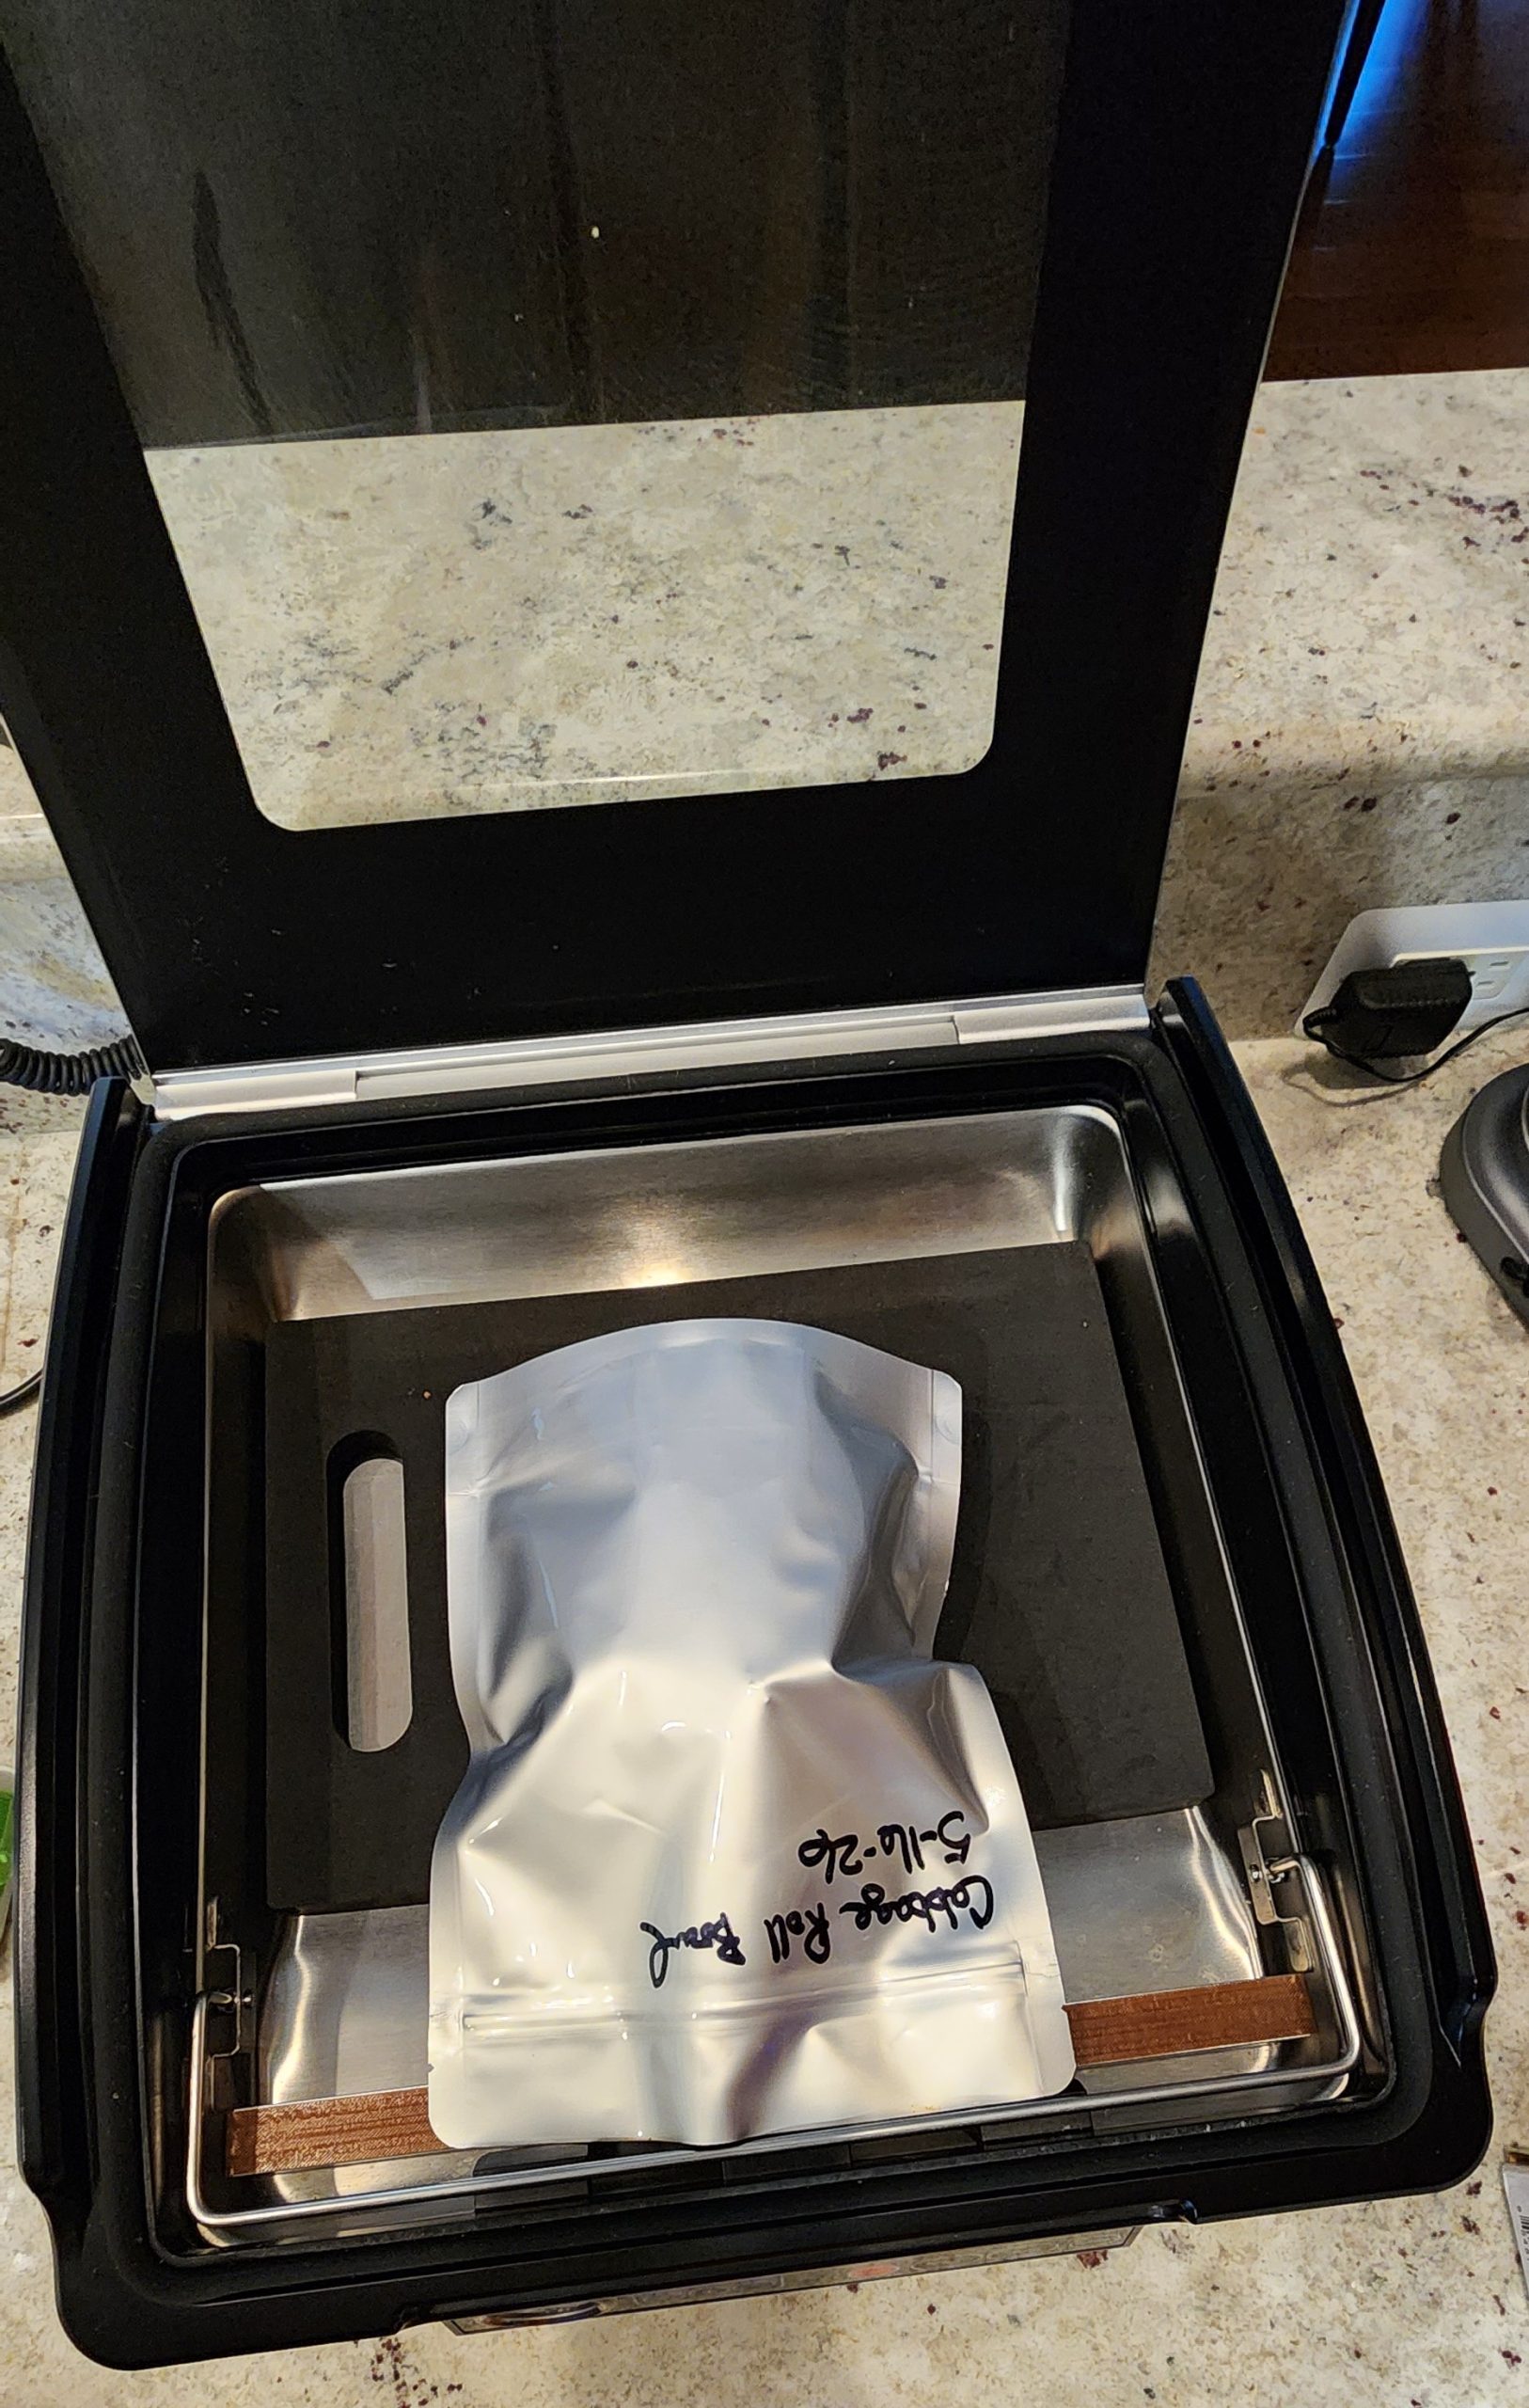
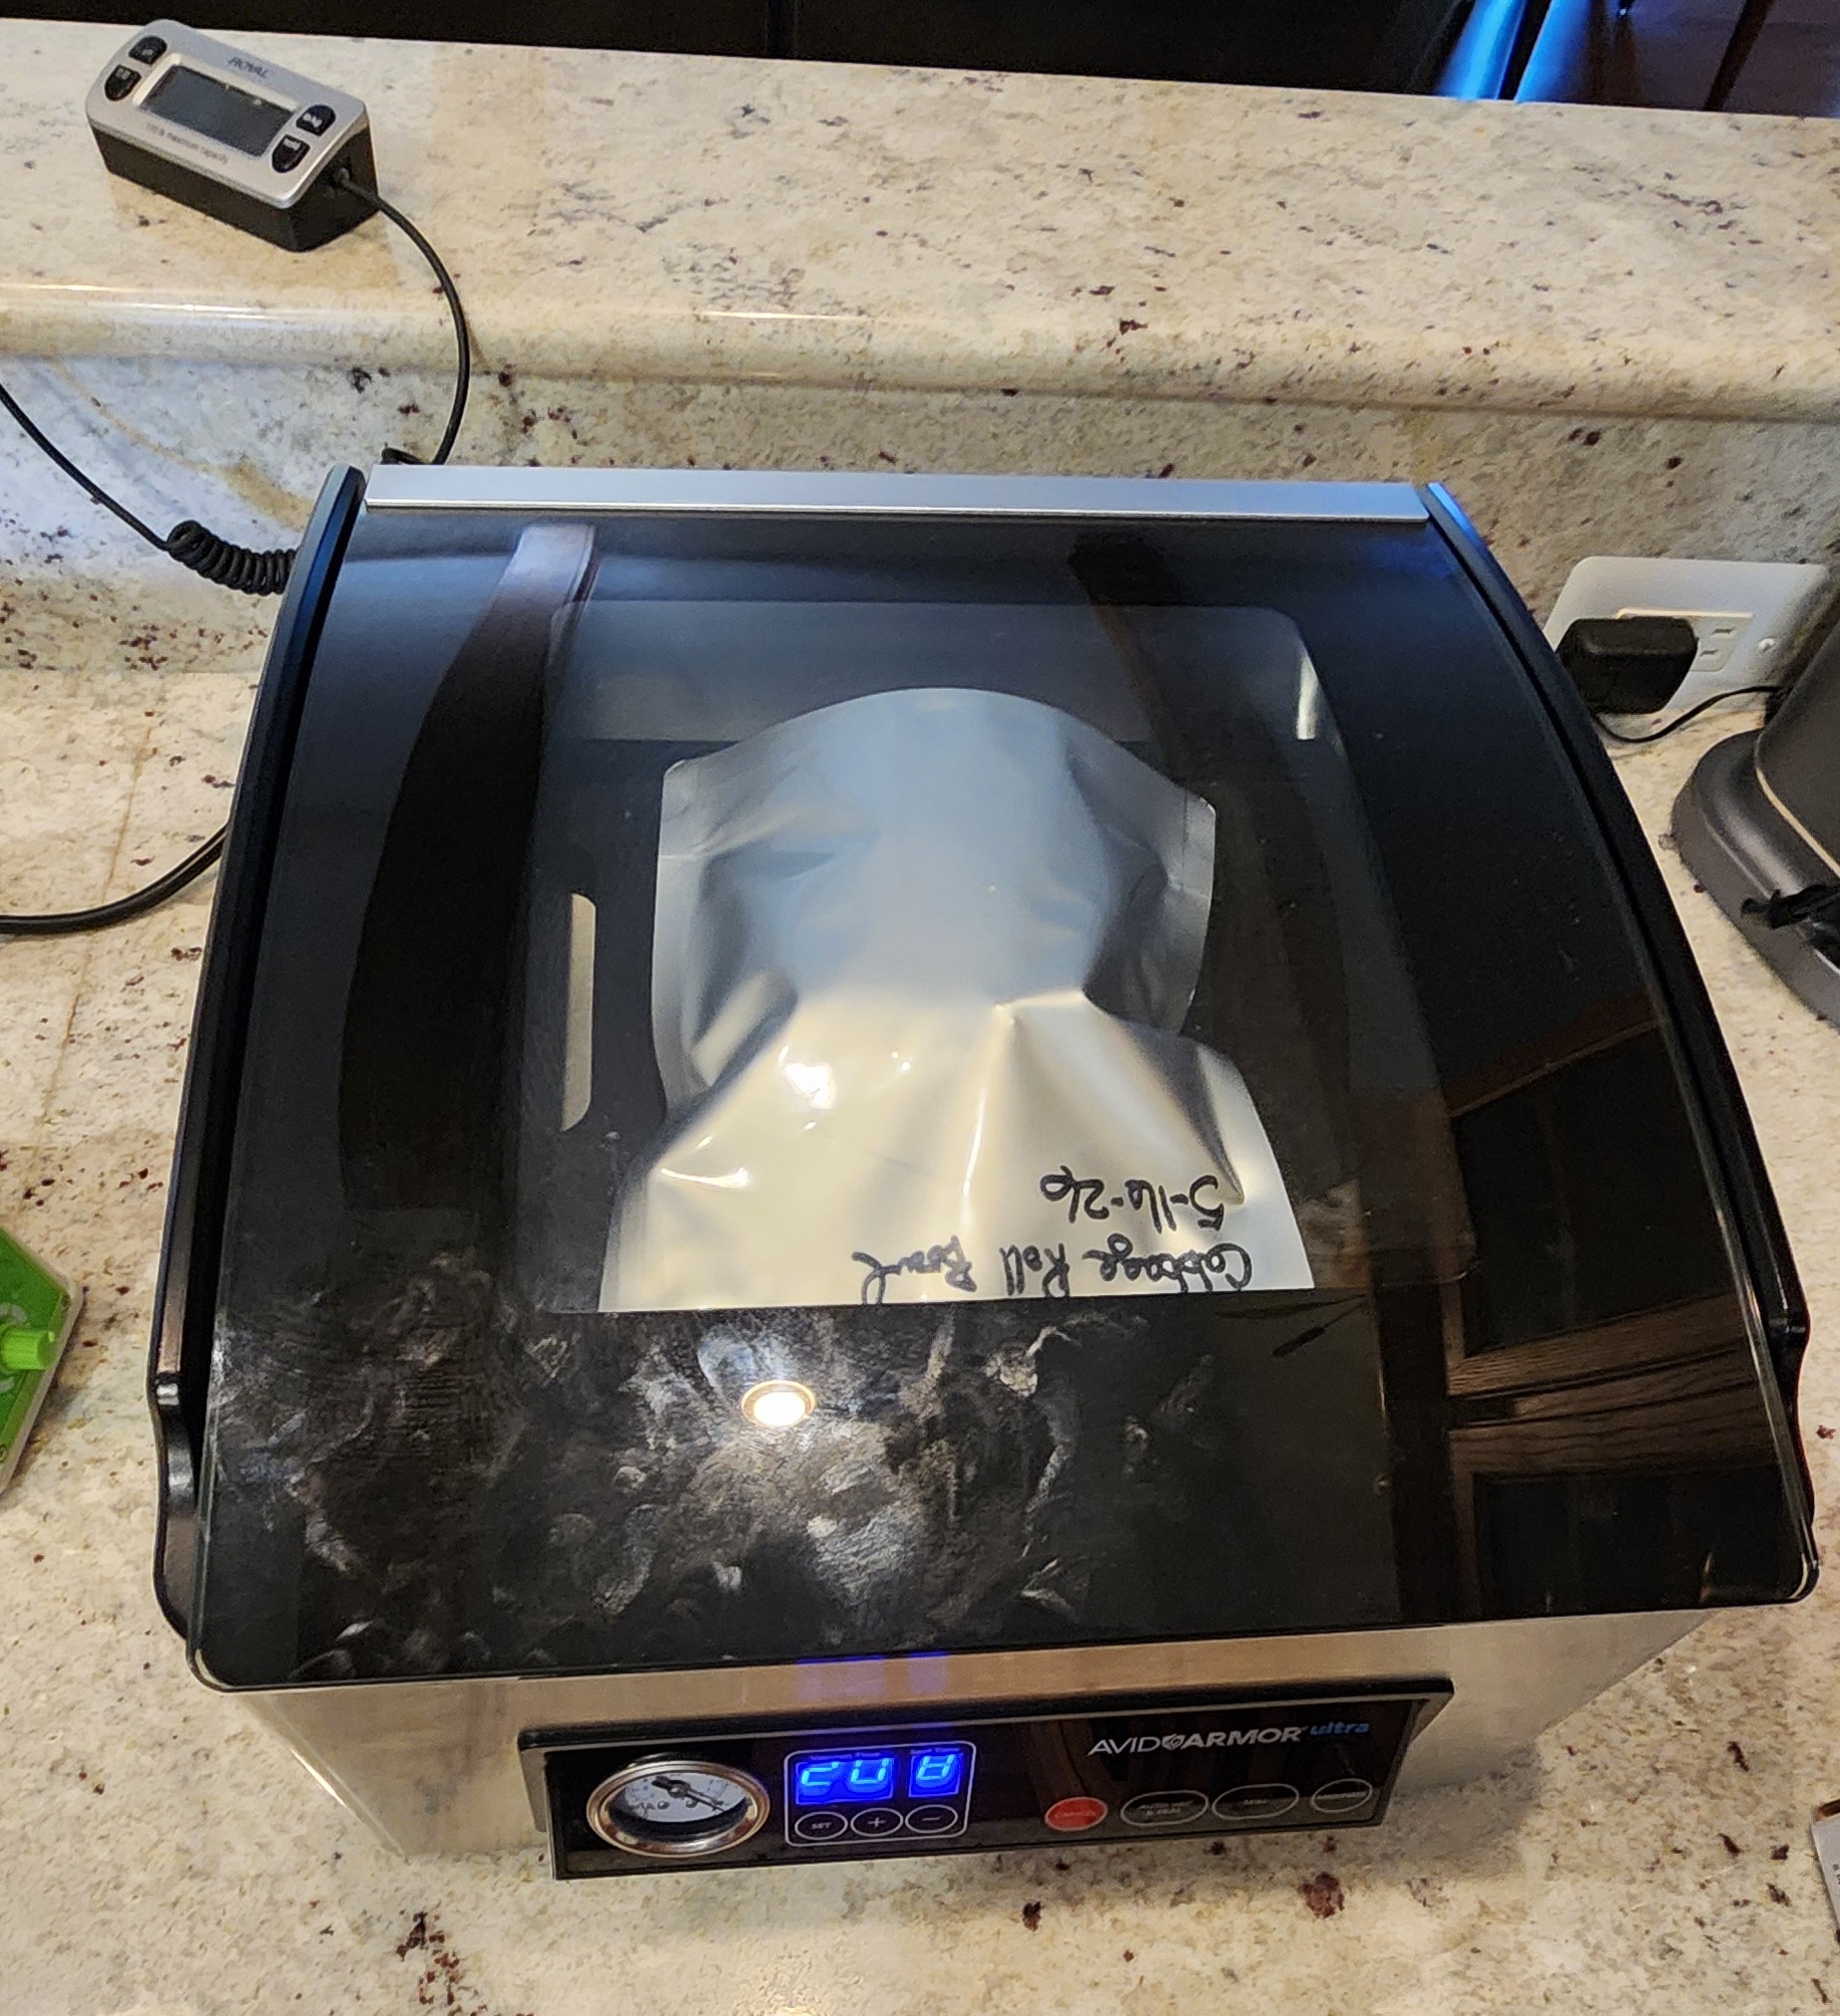
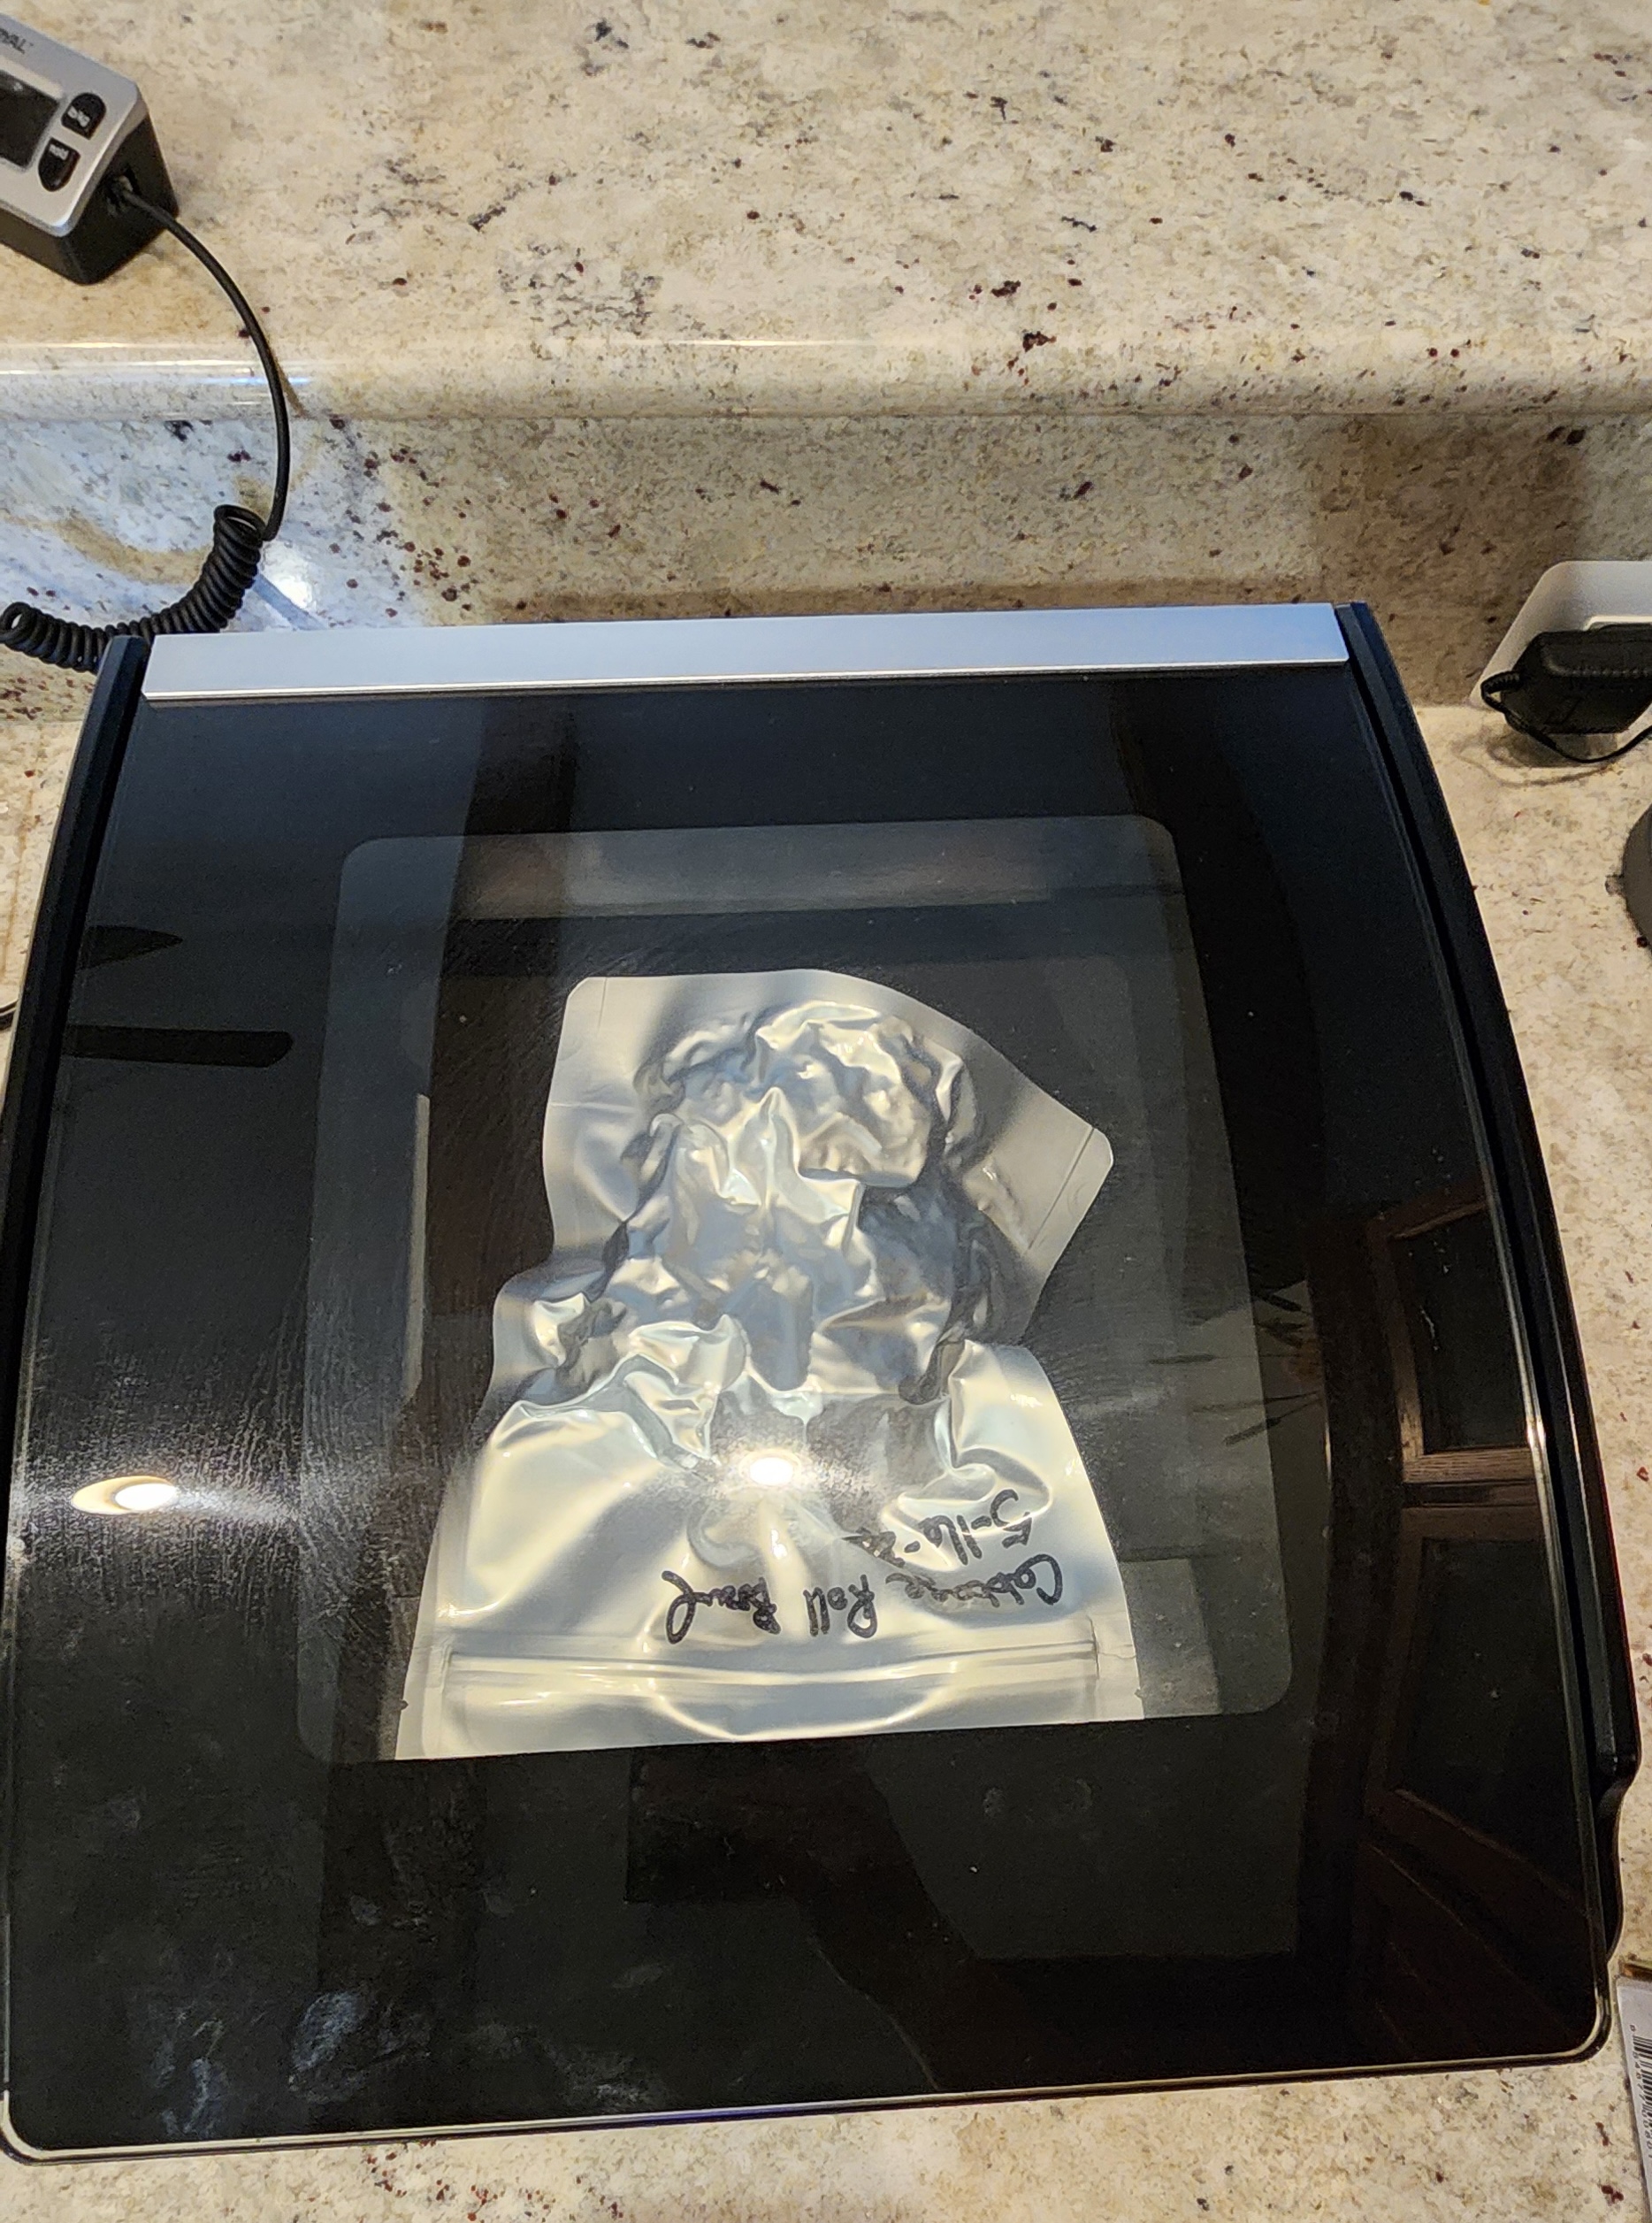
Here’s something worth knowing if you’re new to this: the chamber vac seals the bag during the vacuum process, but the bag needs to lay pretty flat in the chamber or the seal will have ripples — and sometimes won’t be fully sealed due to the thickness and stiffness of the mylar. I’ve had a few questionable seals that I’ve run through an impulse sealer for a second seal just to be safe. Better to double protect than to open a bag on trail, find ruined food and have no dinner!
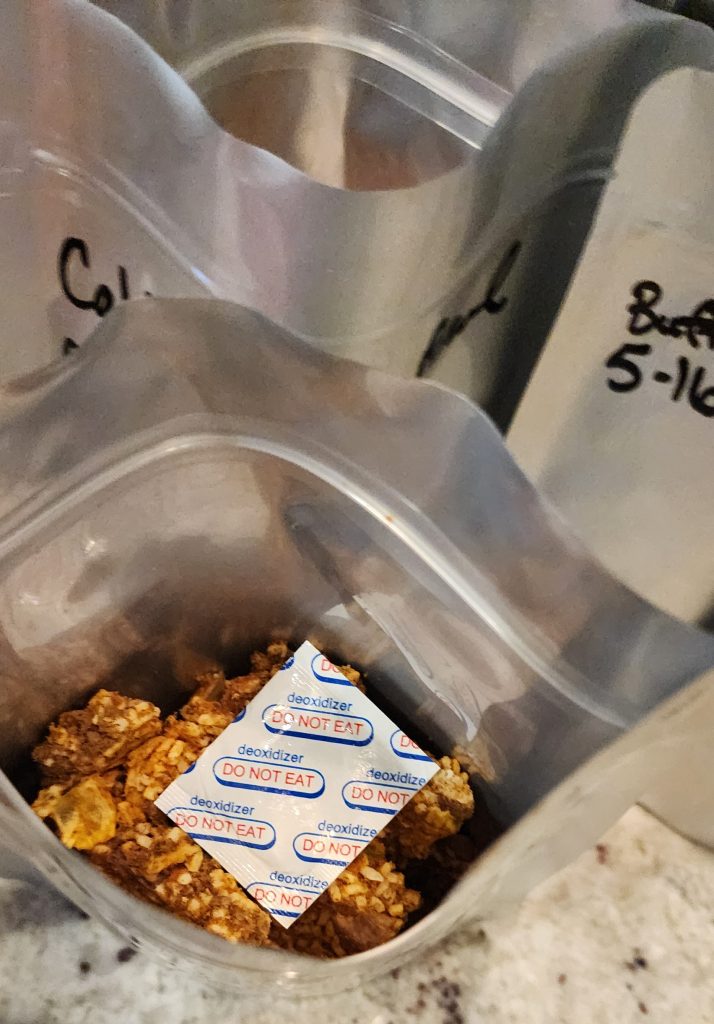
One note for backpackers specifically: if you’re using large capacity oxygen absorbers, the vacuum isn’t strictly necessary — the O2 absorber does the heavy lifting of removing oxygen from the bag. I vacuum mine anyway for my long-term food storage because I want maximum shelf life and I like the extra insurance. But for trail use with a good O2 absorber, you could skip the vacuum step.
The Bear Can Problem
Here’s a fun wrinkle for JMT planning specifically: bear canisters are required on the trail, and vacuum sealed mylar bags are basically oddly-shaped little bricks. They don’t compress, they don’t flex, and they are a nightmare to fit into a round canister efficiently.
My current solution is to reserve some of my JMT bags without vacuuming them — sealed with an O2 absorber only, which leaves the bag slightly pliable and much easier to manipulate into the canister. Bear canister Tetris is a real sport and flexibility matters. More on that particular adventure in a future post.
It’s Not Just Trail Food
I’d be leaving out half the story if I didn’t mention that Salty Beach pulls double duty. The long-term food storage purpose she was originally purchased for is still very much in play — I have a growing supply of freeze dried meals, proteins, and staples that have nothing to do with hiking and everything to do with being prepared.
But she also does banana pudding Jello Bites. And Werther’s Original chewy caramels, which freeze dry into something that defies description. My husband’s opinion of the whole operation went from “that’s a lot of money for an appliance” to “what’s coming out next” somewhere around batch three.
Worth every penny, you Salty Beach. Worth every penny.
Coming Up
As the JMT gets closer I’ll be sharing more about the specific meals I’m bringing, how I’m calculating calories and weight per day, and what it actually looks like to plan a week of backcountry food from scratch. If you’ve ever wondered whether you could do this yourself — you absolutely can, and I’ll show you how.
For now, Salty Beach hums on.
— Barbara